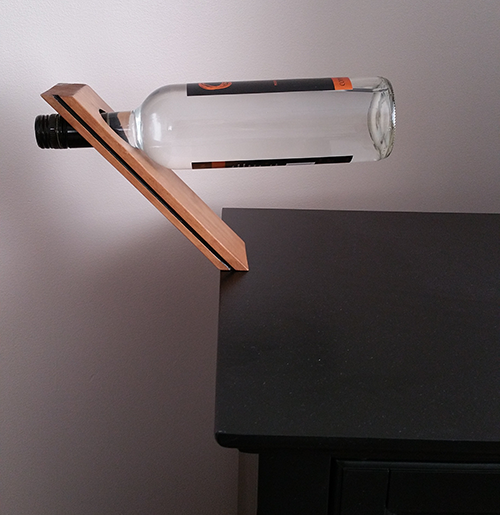
This is a quick project that I did with some scrap wood that takes minimal effort and skill and produces a pretty cool looking effect.

This actually works because of some simple physics.

As long as the bottle’s center of mass is directly above the small point where the wood is angled to meet the table the bottle will be suspended. This project does NOT need perfect measurements to work because the center of mass can be manipulated by moving the stem of the bottle deeper in the hole or having it stick out further to make it balance. Because of this the longer the piece of wood you use the larger and heavier the bottle it can support.
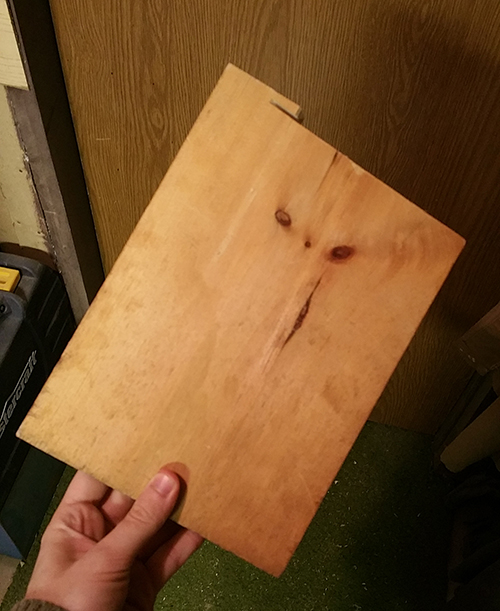
Here’s how I made it.
I started with this piece of scrap wood I found in the workshop. This wood is really soft but it really doesn’t matter the type of wood you use for this project.
Next, I cut this baby down to size using the table saw. Since the physics of this is so lenient I didn’t follow the mantra of measure twice, cut once. Instead, I just eyeballed it and cut once.
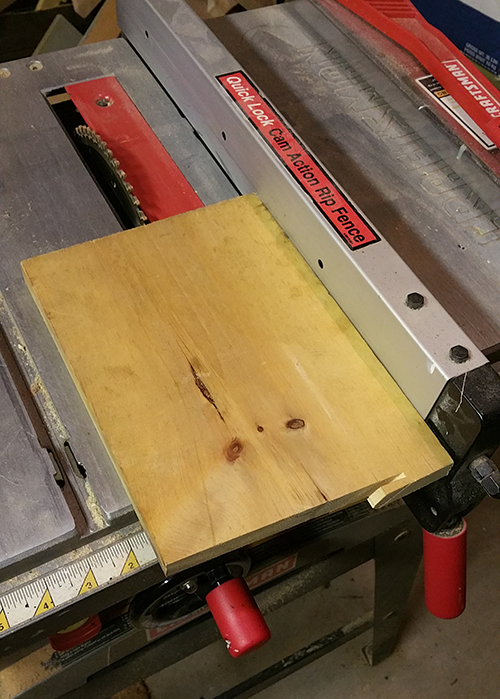
You can see the width in the above picture. I saved the piece to the left of the blade.
Once the rectangle is cut I moved over to the mitre/miter? saw. I set this at a 45 degree angle and cut both ends. You really only need to cut the end that will be on the table but I cut them both because symmetry is rad.

Now that the easy work is done, we have a block of wood with some sharp edges. Exciting!
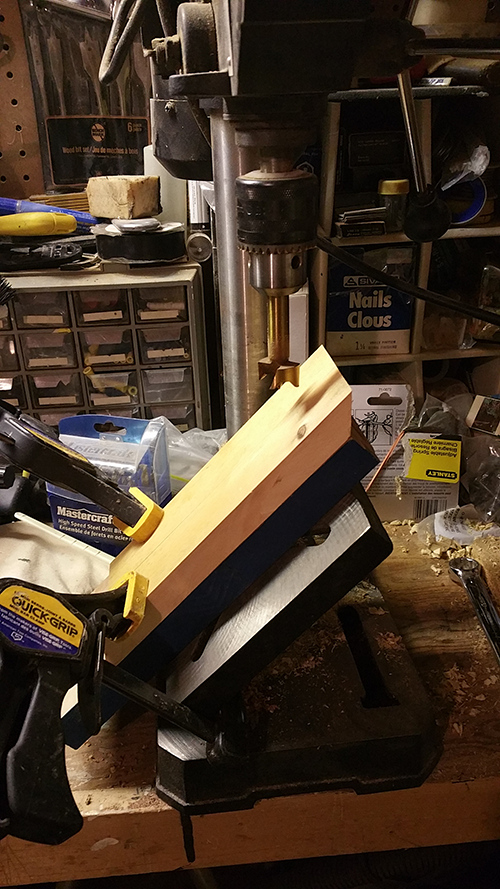
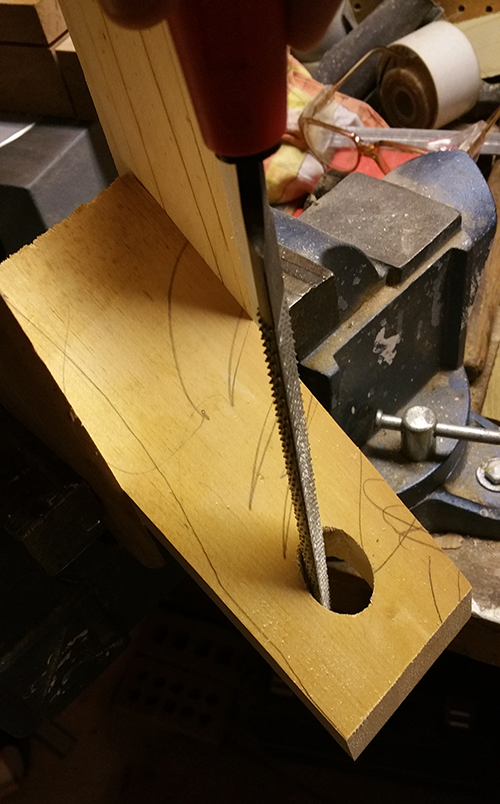
The hard part is up next; making the hole.
I used my drill press with a 1 inch Forstner bit for the hole. Ideally you would want to use a 1 – 1/4+ inch bit here so it fits bigger bottles but I don’t have one so I ended up filing the wood to make it bigger. I was lucky that my press table was adjustable so I was able to make a nice cut at 45 degrees. Be careful here and take your time because the bit doesn’t catch the wood too nicely in the beginning at that angle.
This is what it looks like after the hole is made.
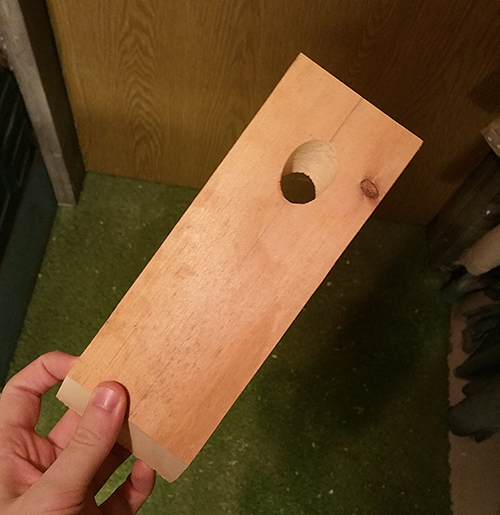
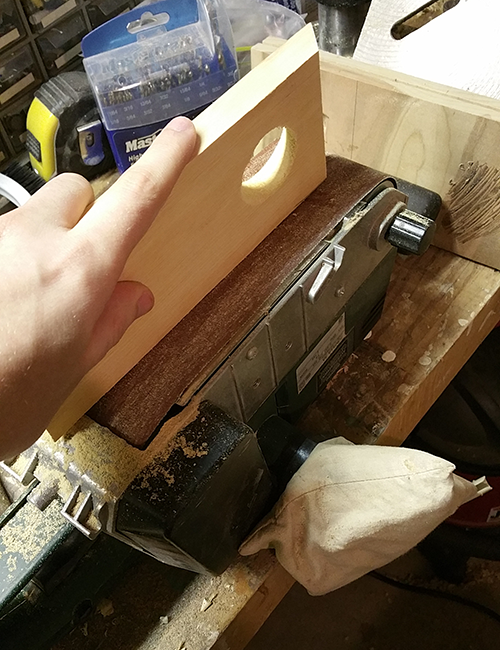
Too bad my bit wasn’t bigger… time for some elbow grease. At this point I just kept making the hole bigger until it fit a wine bottle.
Looking good! I cleaned it up a bit using the belt sander and voila!

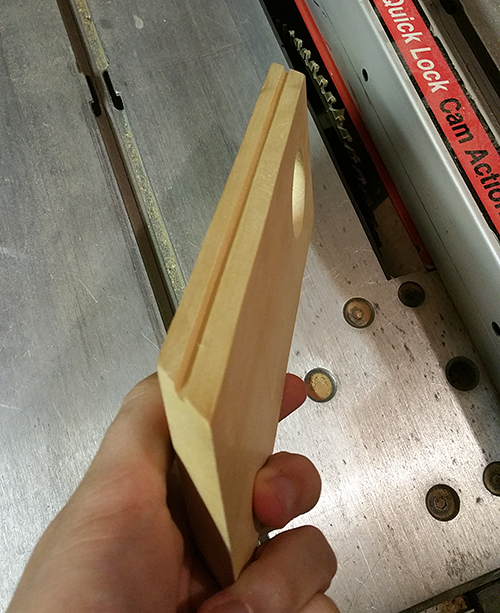
Next I decided to add some easy aesteics to make it look like more than just a simple block of wood. I used the table saw again at a really low depth and made a shallow cut through each end.
Added some pizzazz by painting inside that cut as well as the hole.
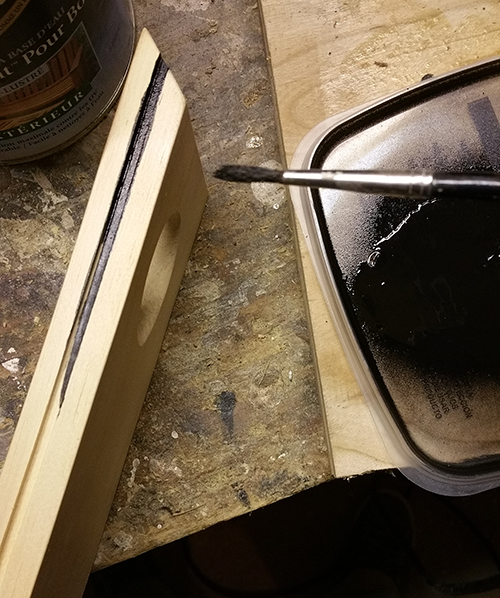
I didn’t spend too much time making sure the paint was only in the crack. After painting, I took the belt sander to it again and sanded off the paint that got outside the hole and edges.
Last two steps were easy.
I stained the whole thing to make it a little bit darker. I did two coats of this. Also, make sure you wear some gloves so you don’t stain your hand. It is quite hard to get off. After the stain dried I finished it with 4 coats of wood varnish.


I’m quite happy with the end result.